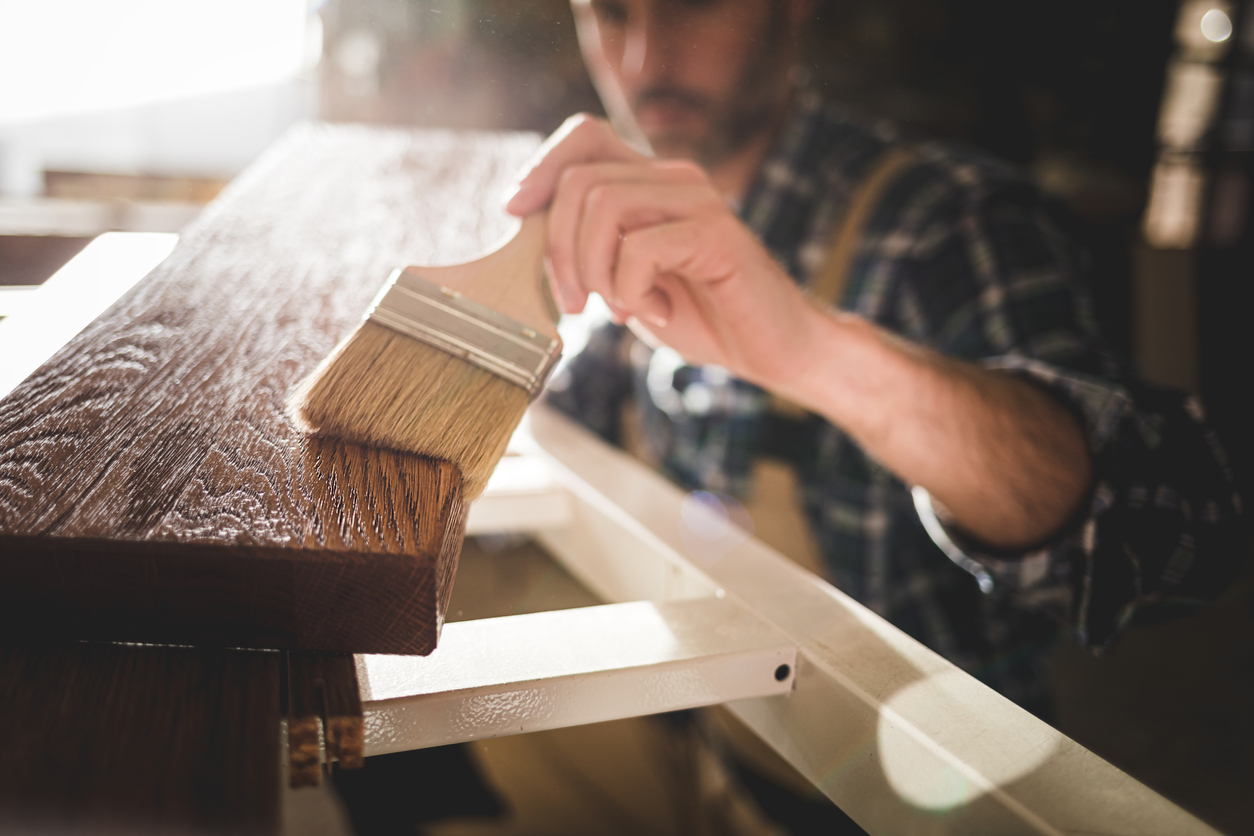
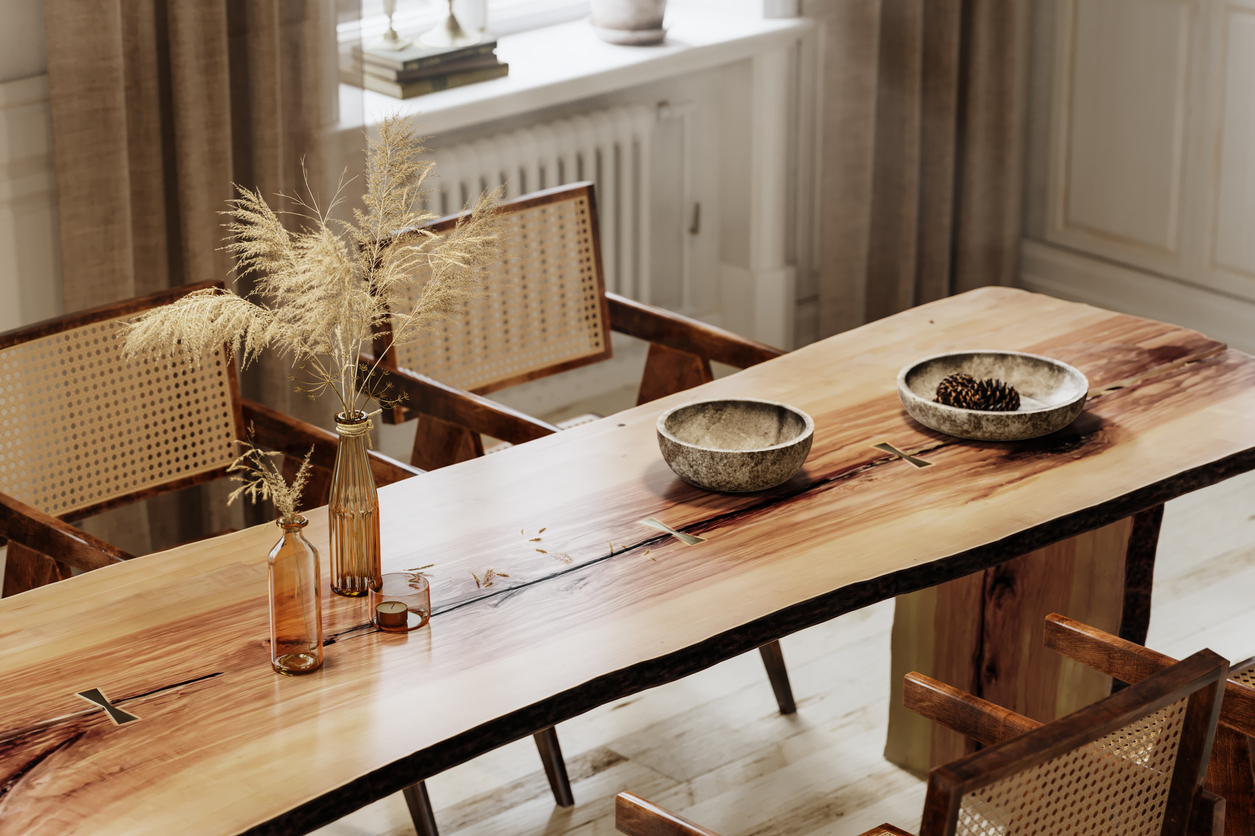
That old furniture in the corner of the living room has seen better days and could use a revival. The needed revival would come from you taking the time to stain them. The furniture you need to stain may not be old wood that necessarily needs some reviving but perhaps some new piece of furniture that you want to give an elegant finish. Ultimately, the goal of staining is to highlight the grain pattern of the wood, but it may also serve to change the color of the piece and get it to match other pieces in the interior space where it is to be used. So, let’s get to staining!
How to Prep Wood for Staining

The first step is to determine what type of stains you use to achieve the color you want. There are two formats in which wood stains come: oil-based and water-based. Each form comes with its unique advantages — with an oil-based stain, you’ll have a longer working time, but you do not need to worry about dried lap marks. Plus, oil-based wood stains don’t raise the grain, eliminating the need for additional sanding. Water-based stains have a subtler odor compared to their oil-based counterparts, which may make them more suitable for people with respiratory challenges. Water-based wood stains also dry faster, require only soap and water for cleanup when you are done, and come in a wider range of colors than oil-based stains.
The next step is sanding down and dusting your furniture piece. Sanding down your furniture is very important because wood grains that have been previously stained would be essentially blocked and unable to accept the new stain. Previously applied stains can also add unsightly patterns to your new work, which is something you don’t want.
Before you begin staining, test the color you chose on an inconspicuous section of the piece. For optimal safety, do your staining in a well-ventilated area, and be sure to use proper eye and skin protection in addition to minding your breathing.
Equipment Tools and Materials

- Oscillating sander
- Foam sanding block
- Brush
- Microfiber staining pads
- Microfiber cloth
- Empty a one-quart pail
- Eye and breathing protection
- Latex gloves
- Stain
- Clear coating
- Sandpaper
How to Stain Your Wood in 4 Easy Steps

1. Sand down wood to open pores.
As we said earlier, previously stained and finished surfaces will not accept a new stain until it is sanded down. We advise you to start with a medium grit (#120) sandpaper and finish with a fine-grit (#220) sandpaper. Be careful to sand in the direction of the grain to avoid scratches.
2. Remove dust.
Wipe off the dust using a soft microfiber cloth to avoid a bumpy finish.
3. Mix your stain and apply.
Take caution to wear latex gloves before tackling the staining portion, as stains on the skin can prove difficult to remove. Stir the stain with a stick, preferably a popsicle-style stick. As you stir, be sure to do it slowly — do not shake the can to mix the content. Finally, pour the stain into a one-quart pail, and apply the stain using a brush or a microfiber staining pad. As you stain the wood, wipe off any excess stain with a microfiber cloth to have a consistent color and fewer blotches.
4. Let your stain dry.
When you are done staining, you can move the piece to a dry, warm, and dust-free place, and you may apply a protective polyurethane spray after it’s fully dry.
Caveat: If you have furniture with delicate and intricate designs (namely antiques), it is worthwhile to let professionals handle the project.
Call or Visit Us!
Check out what our impressive selection of quality furniture can do for you! If you have any questions, reach out to our experts. We are always happy to help.
